Wet polishing is a common method for finishing concrete countertops, providing a smooth and glossy surface with light to heavy aggregate exposure. This guide will walk you through the steps of wet polishing a concrete countertop:
Materials and Tools:
Concrete Countertop: Make sure the countertop is fully cured and free of defects or imperfections. You can start to wet polish your concrete countertop within 1-3 days after the pour. The longer you wait, the harder the concrete will become meaning it will be more difficult to get a deeper aggregate exposure but you will be able to get a higher sheen.
Diamond Polishing Pads: These are essential for the process. You will need a set of varying grits, typically 50, 100, 200, 400, 800, 1500, and 3000 grit.
Variable Speed Wet Polisher: You'll need a high-quality wet polisher with a variable speed control and specialized water feed system with a 4” or 5” backer pad to attach your diamond polishing pads. Wet polishers and 4” diamond pads can be purchased on our website on the “powertools and accessories” page.
Protective Gear: Safety goggles, a dust mask, ear protection, and gloves are important to keep you safe during the process. It’s also nice to wear rubber/muck boots and an apron to keep yourself dry.
 When adding a decorative aggregate like glass, wet polishing will expose your aggregate.
Steps:
Prepare the Work Area: Cover the surrounding area to protect it from dust and water. Ensure you have a stable work surface and easy access to a water source.
Attach the Diamond Pads: Start with a coarse 50-grit pad and attach it to the wet polisher If you feel you did a good job finishing the countertop the steel trowel may be able to skip the 50 grit and start with the 100. The 50 grit pad is used for grinding so it will give a heavier aggregate exposure.
Wet Polishing: Begin the wet polishing process by gently moving the polisher in a circular motion over the countertop making sure to keep the polishing pad flat to the concrete surface. Do not hold the polisher still in one area (especially with the 50 – 100 grit pads) as it can create a depression in the concrete by removing too much material.
Progress Through Grits: After the 50-grit pad, move to the 100-grit pad, and so on, gradually increasing the pad grits. Each grit level will remove the scratches from the previous pad. Continue until you've reached your desired level of smoothness and shine. The 3000-grit pad will give you a high-gloss finish. It is important to consider what type of sealer will be used (or if you will be using stains) as many products will not adhere above a 200 or 400 grit polish.
Inspect and Clean: Periodically stop to inspect the surface for any imperfections or areas that need further attention. Make any necessary corrections.
Final Cleaning: Once you've achieved the desired finish, clean the countertop thoroughly to remove any residue and slurry from the polishing process.
Sealing: To enhance the countertop's durability and shine, you can apply a concrete sealer such as our Z Siacryl 14 penetrating sealer. When sanding/polishing above 200 grit it’s advised to use a penetrating sealer to achieve proper protection of the countertop. Follow the manufacturer's instructions for the specific product you choose. If a higher gloss is desired, you can go over the SiAcryl 14 with our Counter-Shine product.
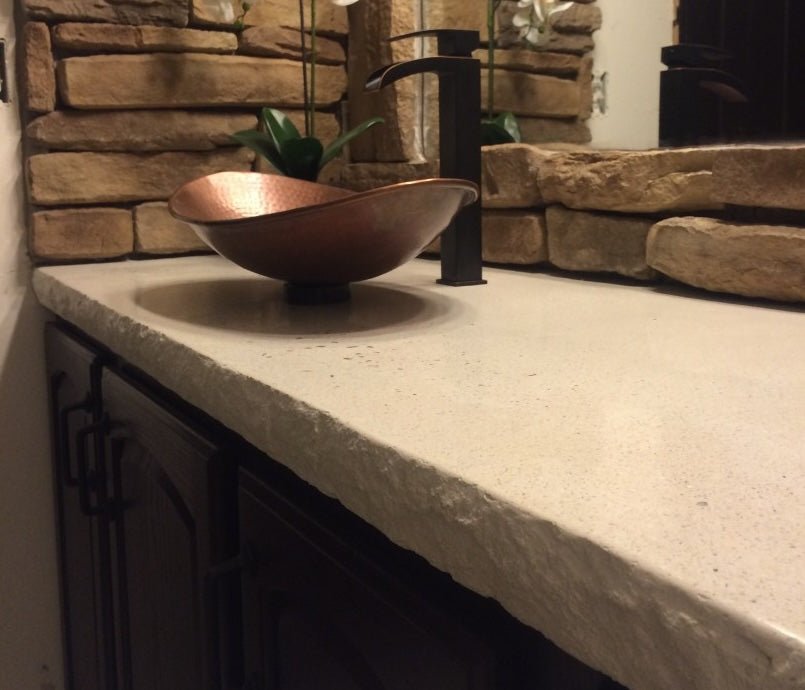
 Here wet polishing was done to expose the pea gravel aggregate in the concrete mix.
Remember that wet polishing concrete countertops requires patience and attention to detail. Take your time to move through the grit levels gradually, and always maintain a wet surface to prevent heat build-up and ensure a smooth finish. Safety is paramount, so wear appropriate protective gear.